Introduction: Why Retrofit Matters for Older Homes
Older homes possess a unique charm, but they’re often a challenge when it comes to comfort, energy efficiency, and indoor air quality. Outdated HVAC systems, leaky ductwork, and insufficient insulation are common culprits behind high utility bills, uneven temperatures, and persistent dust or allergens. Yet, with a strategic retrofit, even the draftiest Victorian or mid-century bungalow can be transformed into a haven of modern comfort and cost-effective living. In this case study, we’ll follow the journey of a 1950s colonial home through a comprehensive HVAC upgrade. Along the way, you’ll learn not just what was done and why—but also gain practical insights, budgeting tips, and actionable advice suitable for homeowners, contractors, and property managers facing similar retrofit challenges. Whether you manage a portfolio of older rentals or are simply looking to improve your own family’s comfort, this in-depth guide will equip you to plan smarter, avoid common pitfalls, and maximize both energy savings and indoor air quality.
Project Overview: The Home and Its HVAC Challenges
Property Snapshot
- Location: Suburban Massachusetts
- Year Built: 1954
- Square Footage: 2,200 sq. ft.
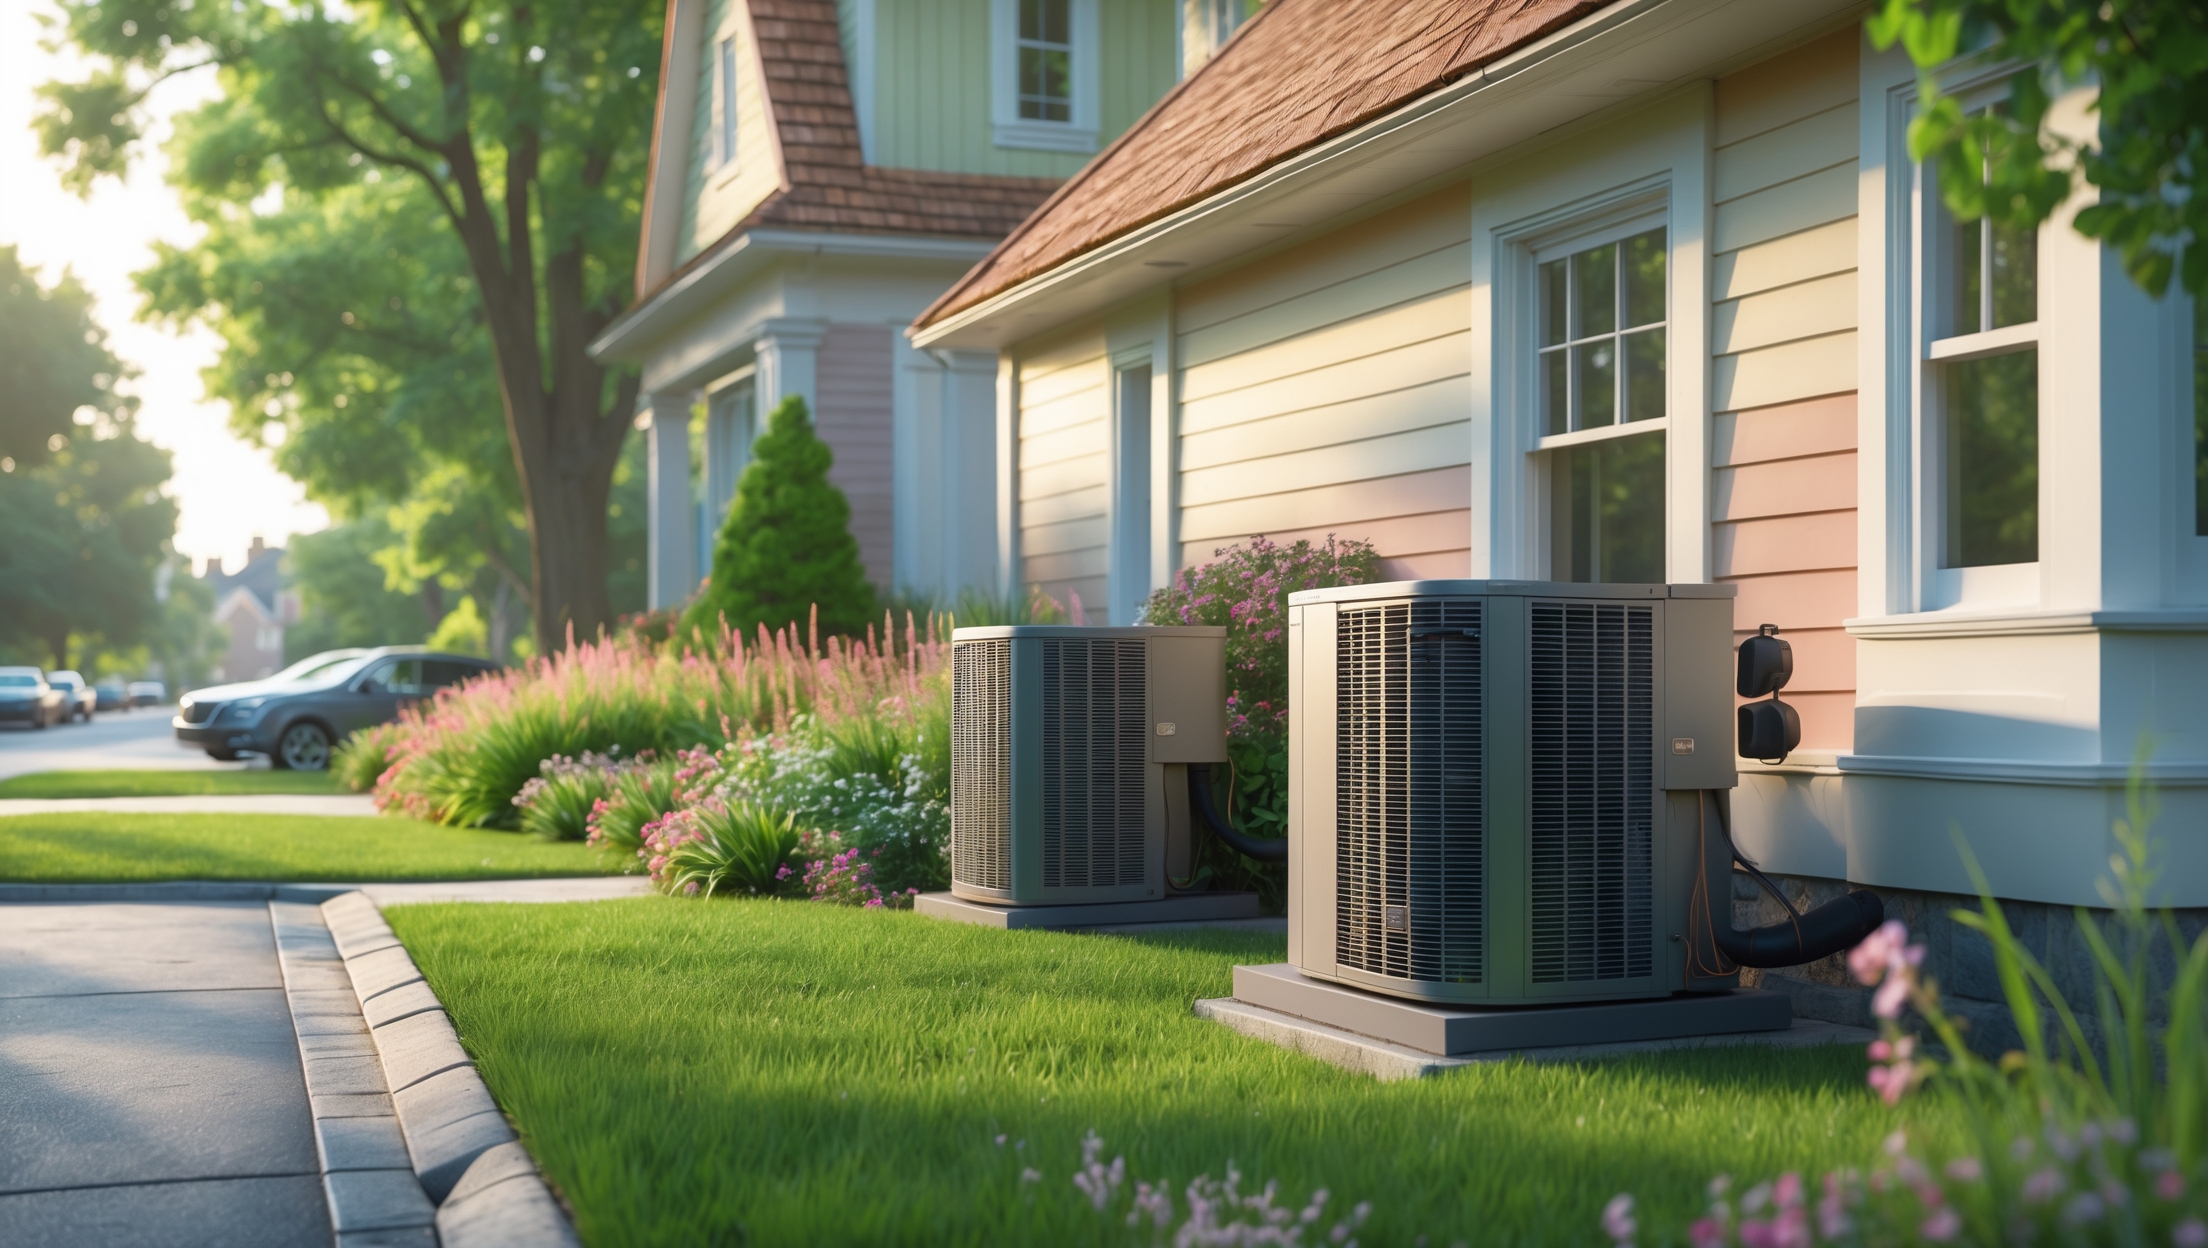
- Construction: Masonry with partial crawlspace
- Existing HVAC: Original gas furnace (~30 years old), single-zone central AC, uninsulated sheet metal ducts
- Occupancy: Three-person family, one dog
Key Problems Identified
- High winter heating bills and summer cooling costs
- Cold spots in upstairs bedrooms and stuffy air on the main floor
- Dust and allergy complaints, especially during shoulder seasons
- Audible ductwork noise and occasional furnace cycling issues
- Outdated, mercury-based thermostat
Step 1: Professional Assessment and Planning
Comprehensive Home Energy Audit
The retrofit began with a professional energy audit, crucial for uncovering hidden air leaks, insulation gaps, and ductwork inefficiencies. The audit included:
- Blower door test to measure air infiltration
- Thermal imaging to spot insulation voids and cold bridges
- Duct leakage testing
- Combustion safety check for the furnace and water heater
- Indoor air quality (IAQ) assessment: humidity, particulates, VOCs
Findings
- Severe duct leakage (~30% of conditioned air lost)
- Insufficient attic insulation (R-13, below regional code)
- Unsealed attic hatch, leaky rim joists in crawlspace
- High indoor CO2 and PM2.5 levels during winter
- Oversized furnace and AC leading to rapid cycling
Retrofit Goals Set
- Lower energy bills by at least 30%
- Eliminate temperature swings between rooms
- Improve indoor air quality for allergy relief
- Quiet, reliable operation
- Prepare for future electrification (heat pump readiness)
Step 2: Cost Breakdown and Budgeting
Estimated Retrofit Costs
- Energy audit and testing: $550
- HVAC system replacement (high-efficiency gas furnace, variable speed AC): $8,400
- Ductwork sealing and minor repairs: $1,200
- Upgrading attic insulation to R-38: $2,700
- Smart thermostat installation: $350
- Advanced air filtration (MERV 13 + UV): $790
- Misc. (permits, disposal, minor electrical): $800
Total Project Budget: $14,790
Rebates and Incentives
- Utility rebate for high-efficiency furnace: $600
- State insulation rebate: $900
- Smart thermostat rebate: $75
Net Out-of-Pocket: $13,215
Budgeting Tips for Retrofits
- Factor in 10–15% contingency for unexpected repairs (e.g., hidden duct damage, electrical upgrades)
- Ask contractors to itemize labor vs. equipment costs
- Check eligibility for local, state, and federal incentives before you begin
- Prioritize upgrades with fastest payback: duct sealing, insulation, smart controls
Step 3: Selecting Retrofit Solutions
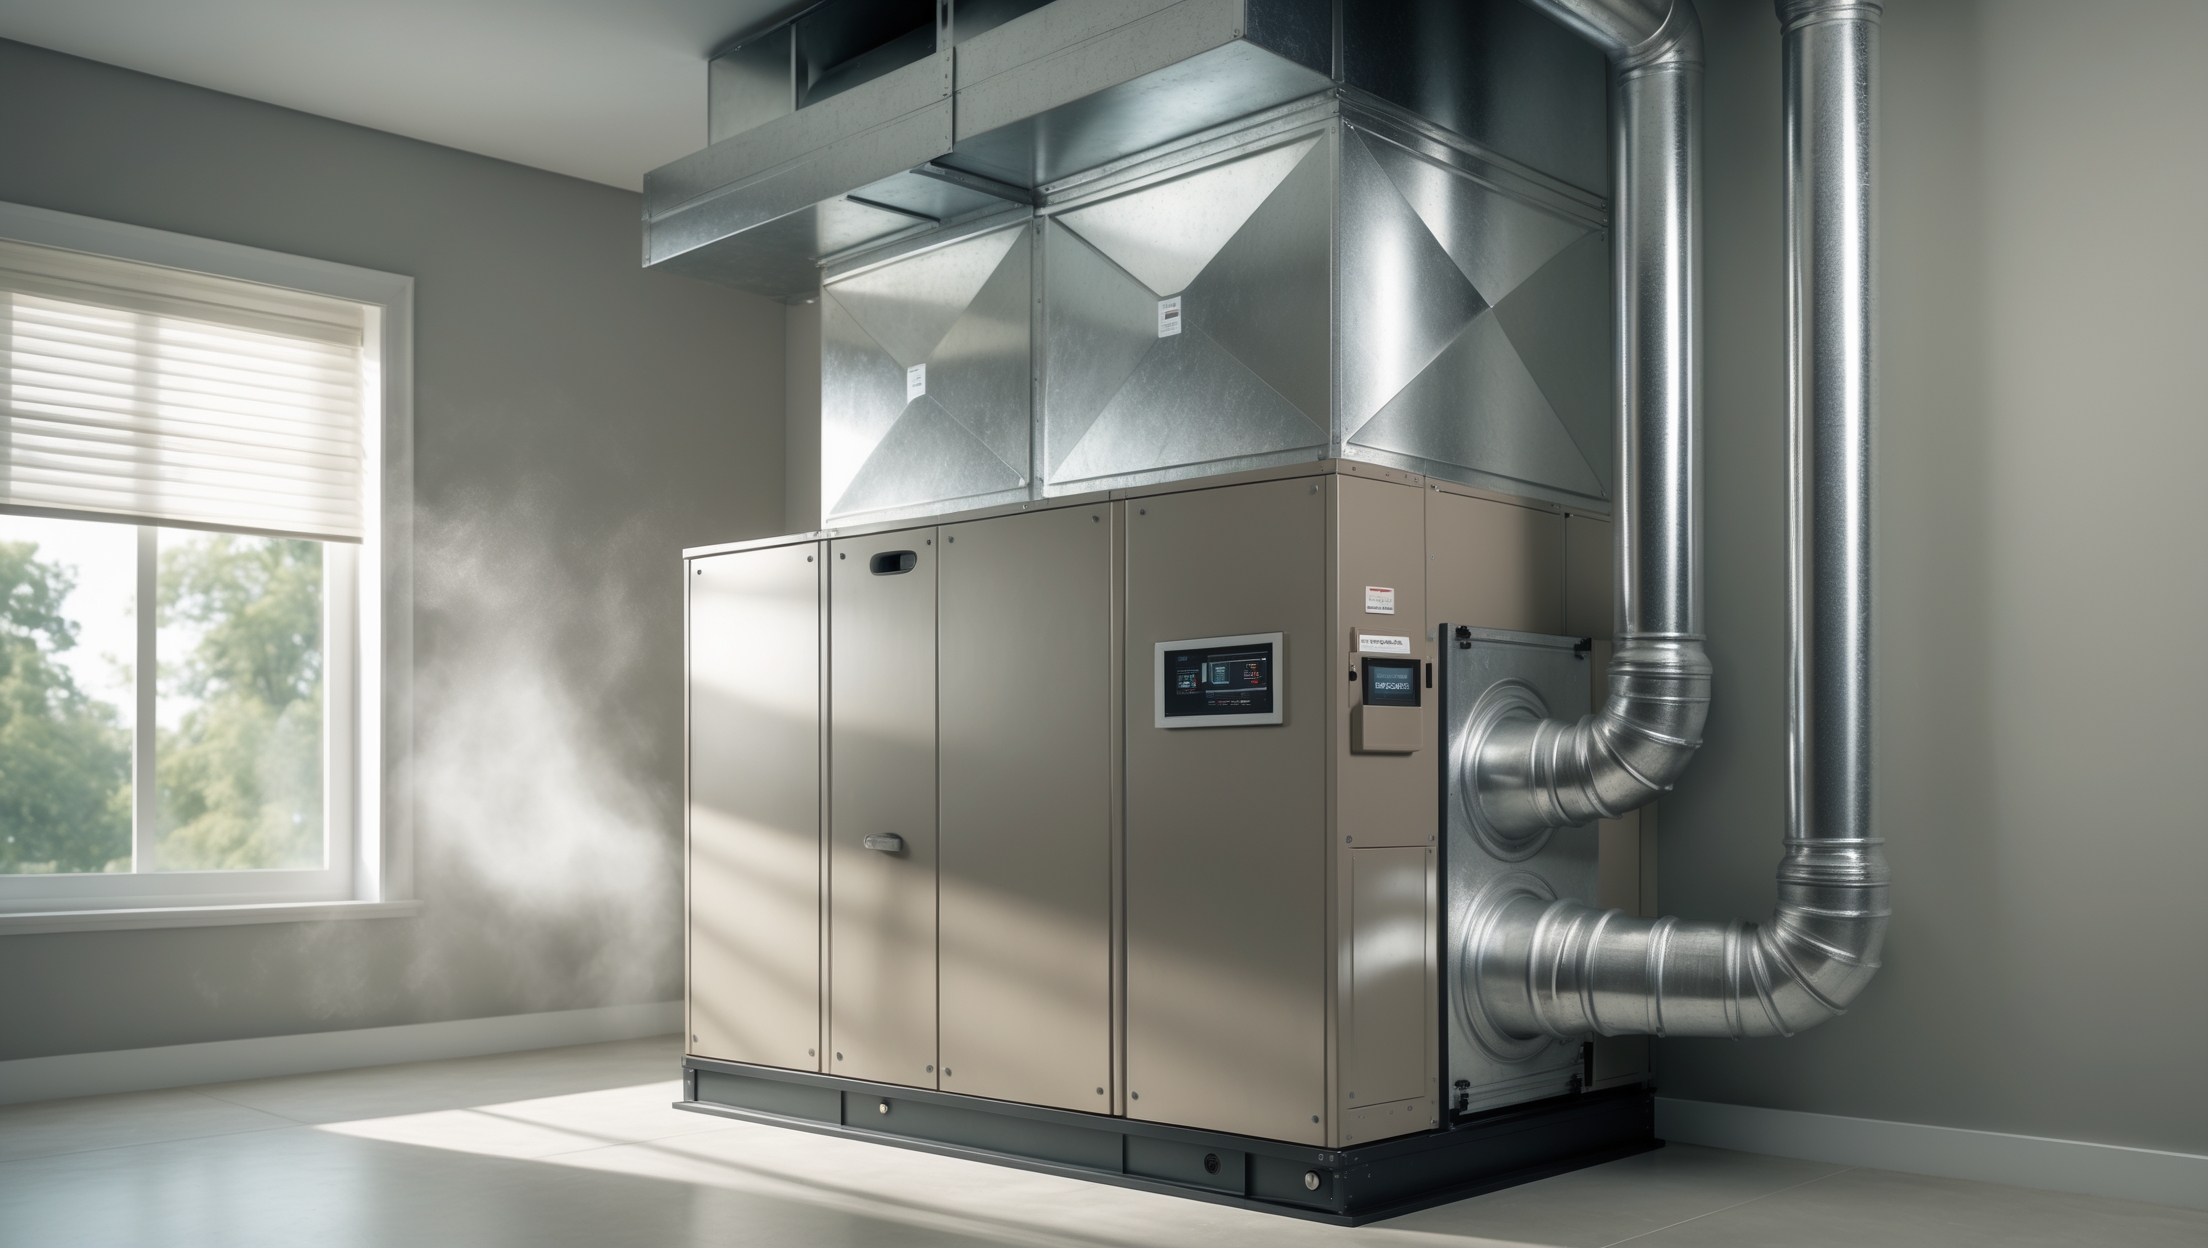
Right-Sizing New HVAC Equipment
The audit revealed that the original HVAC was oversized, which caused short cycling (frequent on/off) and uneven temperatures. The contractor used Manual J calculations to size the new system:
- New high-efficiency (97% AFUE) two-stage gas furnace, sized at 60,000 BTU (down from 90,000 BTU)
- Variable-speed 2-ton central AC, replacing the old 3-ton unit
Right-sizing not only improved comfort but also reduced noise and extended equipment life.
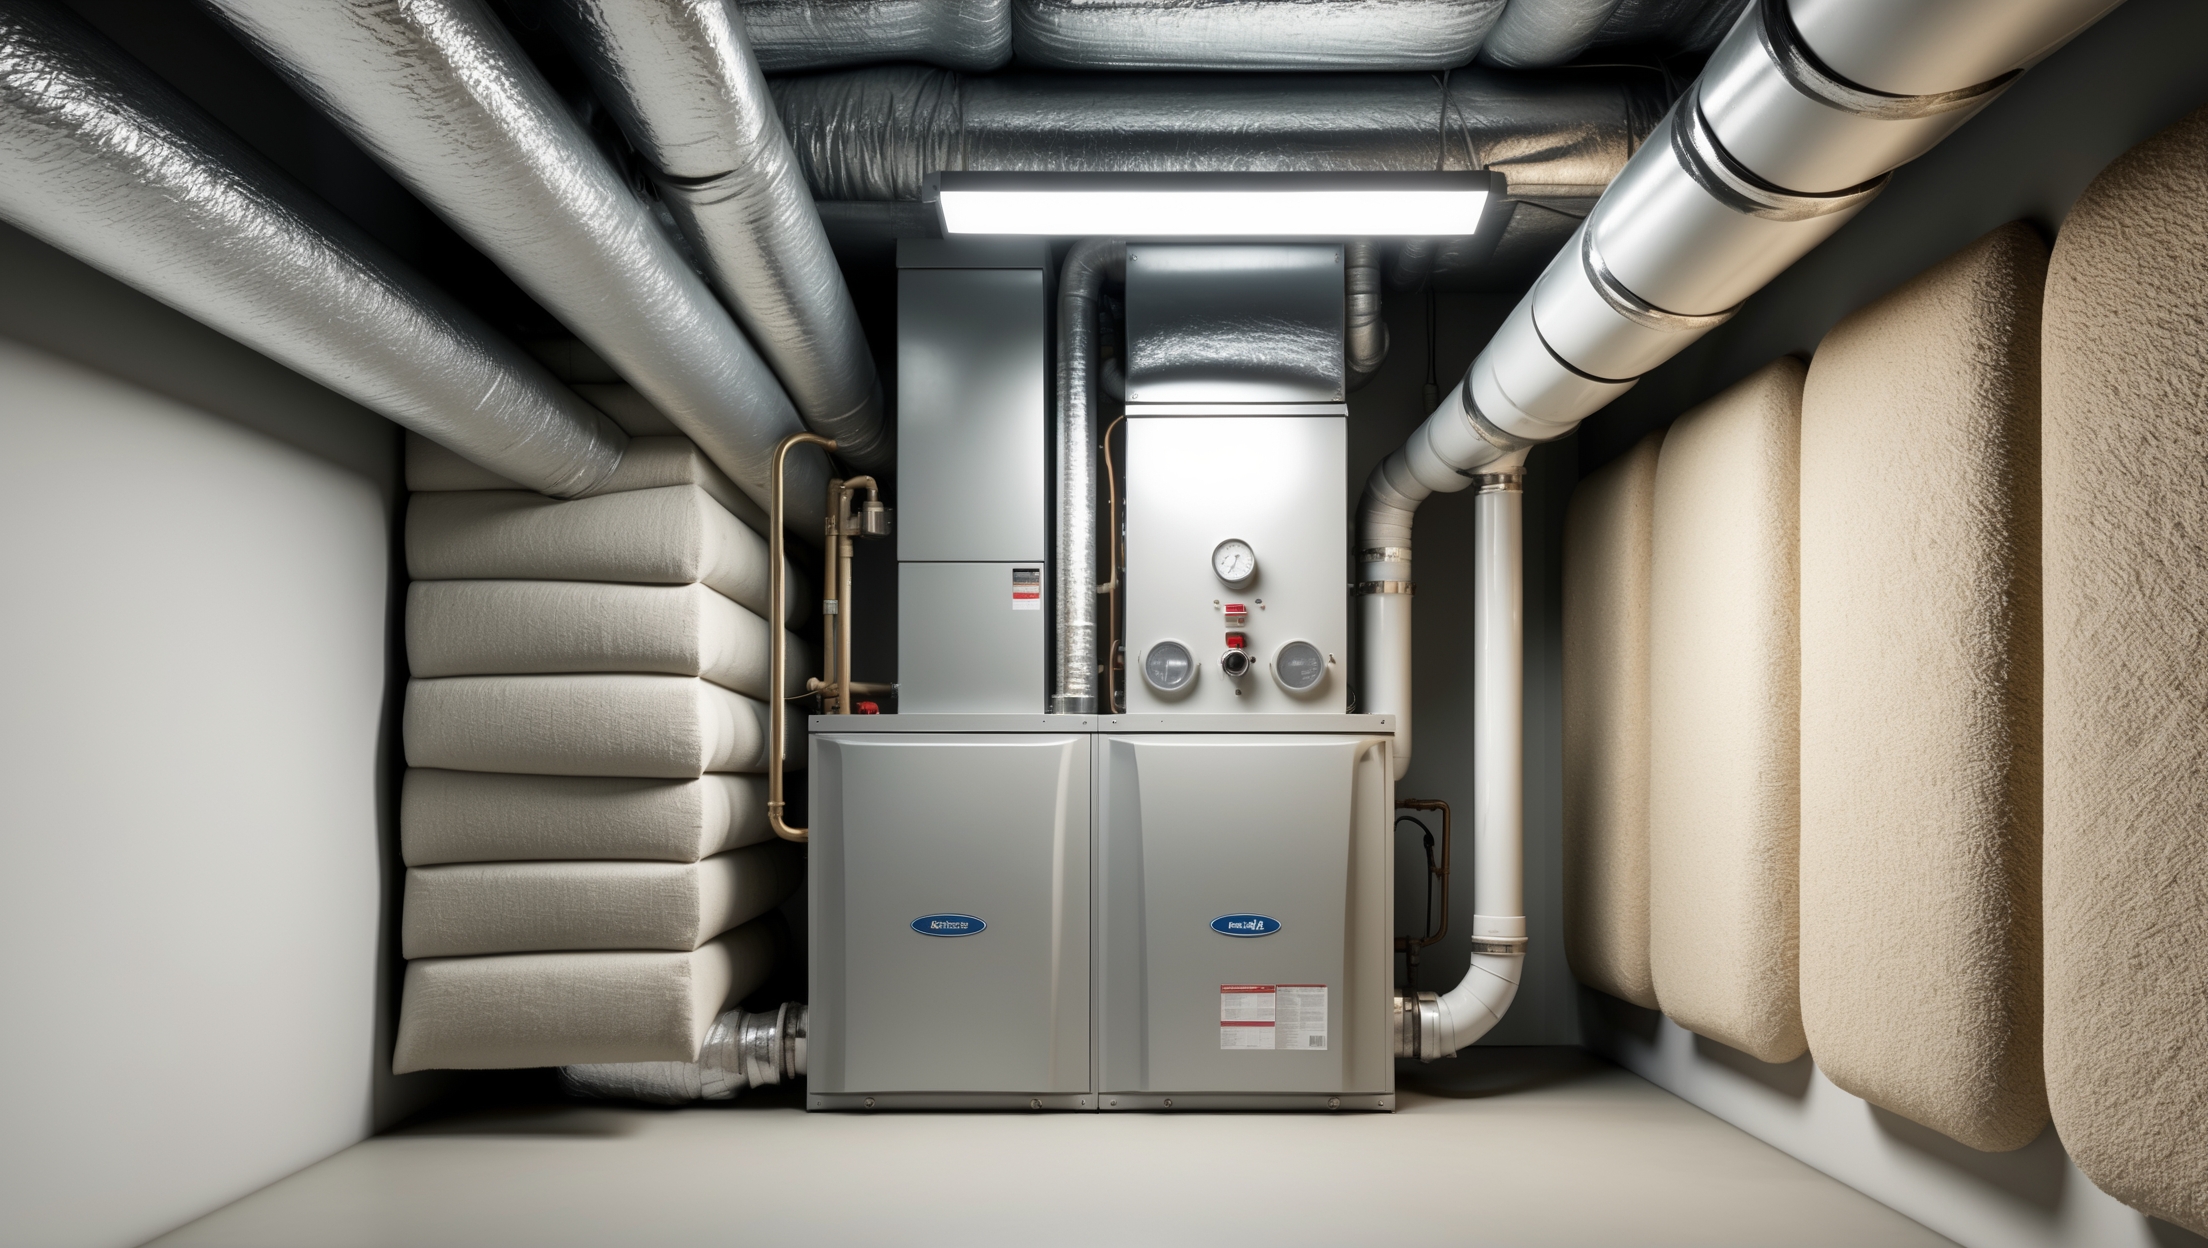
Duct Sealing and Insulation
- Aeroseal applied to joints and seams, reducing leakage to under 6%
- Insulation sleeves added to exposed ducts in the crawlspace
- Rerouting one branch duct to improve upstairs airflow
Enhanced Air Filtration and Quality
Given the family’s allergy history, the retrofit included:
- Upgrading to a MERV 13 media filter (captures pollen, dust, pet dander)
- Adding a UV-C air purifier in the air handler to reduce microbes
- Installing a dedicated fresh air intake with motorized damper
Smart Controls and Zoning
- Wi-Fi enabled thermostat with learning algorithms and remote sensors
- Simple two-zone damper system (main floor/upstairs) to address temperature imbalances
Improved Insulation and Air Sealing
- Blown cellulose insulation added to attic, reaching R-38
- Air sealing of attic hatch, rim joists, and minor wall penetrations
Step 4: Implementation and Installation Best Practices
Coordinating Multiple Trades
Scheduling was critical. Insulation work was completed first so the new HVAC wouldn’t have to compensate for ongoing air leaks. The contractor coordinated with an insulation crew and electrician for minimal disruption.
Day-by-Day Timeline
- Day 1: Insulation upgrade, attic air sealing
- Day 2: Removal of old furnace and AC, duct sealing/repairs
- Day 3: Installation of new furnace and AC, smart thermostat wiring
- Day 4: Air filtration, UV purifier, final commissioning, and homeowner orientation
Quality Assurance and Testing
- Post-install blower door and duct leakage tests to verify improvements
- System airflow balancing at supply and return registers
- Thermostat and zoning controls programmed for optimal schedules
- IAQ retesting: PM2.5 and CO2 levels measured before and after
Step 5: Results and Measured Outcomes
Energy and Cost Savings
- Winter gas usage reduction: 32% (based on utility bills, weather-normalized)
- Summer electricity savings: 19%
- Estimated annual utility savings: $680–$750
Comfort and Air Quality Gains
- Temperature spread between upstairs and main floor reduced from 7°F to under 2°F
- Noticeable drop in dust accumulation and musty odors
- Allergy symptoms improved, especially for the family’s child
- System noticeably quieter; no more blower rumble at night
- IAQ metrics: PM2.5 reduced by 45%, CO2 remained below 1000 ppm even with windows closed
Maintenance and Future Readiness
- New system filter is easy to access and replace
- HVAC closet cleared of old debris and sealed for rodent prevention
- Furnace/air handler sized for future heat pump coil if electrification is desired
Lessons Learned: Practical Takeaways for Your Retrofit
Budgeting and Planning
- Start with an energy audit—don’t guess at problems or solutions
- Prioritize duct sealing and insulation for immediate, high-value gains
- Right-sizing equipment saves more in the long run than simply buying the highest-rated unit
Working with Contractors
- Choose contractors with retrofit experience—not just new construction
- Insist on post-install verification testing; don’t accept estimates alone
- Get all warranties and maintenance instructions in writing
Air Quality and Comfort
- Consider whole-home filtration if allergies or pets are an issue
- Zoning can be a cost-effective way to address uneven heating/cooling
- Smart thermostats pay off fastest when paired with a well-sealed, right-sized system
Future-Proofing
- Ask about heat pump compatibility—even if you’re not ready to fully electrify yet
- Keep records of all upgrades for future home value and resale
Conclusion: Transforming Old Homes for Modern Living
This HVAC retrofit case study proves that even older homes with outdated systems can be transformed for comfort, efficiency, and health—not through guesswork, but with a data-driven, holistic approach. The combination of targeted air sealing, right-sized equipment, duct improvements, and modern controls yielded dramatic results: lower bills, quieter operation, better sleep, and cleaner air. For homeowners, contractors, or property managers, the lesson is clear: invest in diagnostics, prioritize the building shell, and choose solutions that serve both today’s needs and tomorrow’s technologies. While up-front costs can be substantial, rebates, incentives, and ongoing utility savings make retrofitting a smart long-term investment. And as codes evolve and climate concerns grow, future-ready upgrades like heat pump compatibility ensure that today’s retrofit won’t be obsolete tomorrow. If you’re facing comfort, air quality, or cost challenges in an older property, let this real-world example inspire your path forward—one that delivers not just efficiency, but a healthier, happier home for years to come.
For a similar 1950s home, what kind of budget range should I expect for a full HVAC retrofit like the one described here? Were there any unexpected costs that came up during the process?
For a full HVAC retrofit in a 1950s home, most homeowners can expect to spend between $12,000 and $25,000, depending on the size of the house, choice of system, and local labor rates. In the case study, unexpected costs included minor asbestos abatement and electrical upgrades to support the new system, so allowing a contingency of 10-15% is wise.
For a colonial home from the 1950s like the one in your case study, how did you decide whether to keep or replace the original uninsulated sheet metal ducts? Was duct replacement necessary to solve the dust and allergy issues, or did sealing and insulating suffice?
In the case study, we first evaluated the condition of the original sheet metal ducts. Since they were uninsulated and had some leaks, we thoroughly cleaned them, sealed all joints, and added insulation. This combination significantly reduced dust and allergy problems without full replacement. Full duct replacement is only necessary if the ducts are badly damaged or impossible to clean, but sealing and insulating often solves most issues in homes like this.
I noticed your case study started with a professional energy audit. For a 2,200 square foot home, how much did the audit cost and how long did it take before you could move forward with the actual HVAC improvements?
In our case study, the professional energy audit for the 2,200 square foot home cost about $350. The audit itself took roughly half a day, and we received the detailed report within a week. This meant we could start planning and scheduling the HVAC improvements as soon as we had the audit recommendations in hand, typically within 7 to 10 days.
Was it difficult to find replacement parts or contractors experienced with older homes like the 1954 colonial in the study? I’m wondering if these retrofits can take longer because of unforeseen issues with historic construction.
Finding replacement parts for older homes like the 1954 colonial did present some challenges, especially since certain components are no longer standard. However, experienced contractors specializing in historic homes were able to source compatible parts or suggest modern alternatives that preserved the home’s integrity. Retrofits can sometimes take longer due to issues like outdated wiring, limited space for new ductwork, or asbestos, but careful planning and working with knowledgeable professionals helped keep the project on track.
Given that this 1950s home had an original gas furnace and a single-zone AC, what considerations went into deciding whether to stick with gas heating or switch to a heat pump system for better energy efficiency and air quality?
In this retrofit, the decision between keeping gas heating or switching to a heat pump involved several factors. The team weighed the age and condition of the existing gas furnace, the climate’s heating and cooling demands, available electrical capacity, and the homeowner’s energy efficiency goals. Heat pumps offer better efficiency and improved air quality, but require proper sizing and, sometimes, electrical upgrades. The potential for lower emissions and eligibility for incentives also played a role in favoring a heat pump system.
Could you clarify whether you upgraded the original sheet metal ductwork or just sealed and insulated it? I’m also curious how you balanced historical aesthetics with new registers or return grilles in a 1950s colonial home.
We chose to keep the original sheet metal ductwork but focused on carefully sealing and insulating it to improve efficiency and airflow. When it came to registers and return grilles, we selected styles that matched the home’s mid-century colonial character, sourcing designs with similar profiles and finishes to blend seamlessly with the existing trim and decor.
As someone with an older home and high utility bills, I’m curious what the approximate budget was for this HVAC retrofit. Were there any unexpected costs during the project that homeowners should be aware of when planning a similar upgrade?
The retrofit in the case study had an approximate budget of $12,000 to $18,000, depending on equipment choices and installation complexity. Unexpected costs included extra ductwork repairs and electrical upgrades to support the new system. If you’re planning something similar, it’s wise to budget an additional 10-15% for surprises, as older homes often reveal unforeseen issues once work begins.
What sort of disruptions should a family expect during a comprehensive HVAC retrofit like this? And how long did the process take from the initial assessment to having the new system fully up and running?
During a comprehensive HVAC retrofit, families can expect temporary disruptions like increased noise, workers moving in and out, some dust, and limited access to certain rooms while equipment is being installed. Heating or cooling may be unavailable for a short period. In this case study, the entire process—from the first assessment to a fully operational new system—took about two to three weeks, depending on the home’s complexity and scheduling.
Did the retrofit project uncover any insulation or ductwork issues that were unexpected given the age and construction type of the home? I’m curious how much of the final solution had to be tailored specifically because of the 1954 colonial’s partial crawlspace and masonry structure.
Yes, the retrofit did reveal a few surprises related to insulation and ductwork. The partial crawlspace and solid masonry walls of the 1954 colonial made it challenging to add insulation, especially in the exterior walls. Some original ductwork was undersized and poorly sealed, requiring replacement or rerouting to fit the new system efficiently. The final HVAC and insulation solutions were definitely customized to address these unique structural features and age-related issues.
The article mentions high utility bills and uneven temps as key problems. After the retrofit, how long did it take for the homeowners to see a noticeable drop in their energy costs, and what was the payback period for the upgrades?
According to the case study, the homeowners began noticing lower utility bills within the first billing cycle after the retrofit, typically one to two months. The article states that the payback period for the upgrades was about five years, based on the energy savings achieved and the initial investment cost.
I also have an older home in Massachusetts about the same size. How disruptive was the retrofit process for the family living there, and were they able to stay in the house the whole time?
The family was able to stay in their home throughout the retrofit, though there were some disruptions. Contractors worked in stages, focusing on specific areas at a time to minimize inconvenience. Some rooms were temporarily off-limits while equipment was installed, and there was a bit of noise and dust. Overall, the process was manageable for the residents, and careful planning helped keep daily routines as normal as possible.
Did the energy audit reveal any major issues with the existing uninsulated sheet metal ducts, and if so, how did you decide whether to replace or just seal and insulate them during the retrofit?
The energy audit did find that the uninsulated sheet metal ducts were a significant source of energy loss, with leakage and temperature fluctuations being key issues. Instead of a complete replacement, the retrofit team chose to seal all accessible duct joints and then add insulation. This approach balanced improving efficiency with keeping costs and disruption manageable.
Were there any specific challenges with retrofitting the original sheet metal ducts compared to just replacing them entirely? I’m interested to know what factors influenced the decision and if keeping the old ducts impacted the indoor air quality improvements.
Retrofitting the original sheet metal ducts did present challenges, mainly in ensuring that the old ducts were thoroughly sealed and insulated to prevent leaks and energy loss. The decision to keep them was influenced by their overall good condition and the desire to minimize costs and disruption. Proper cleaning and sealing helped maintain, and even improve, indoor air quality, so keeping the original ducts did not negatively affect the air quality after the retrofit.
After replacing the old mercury thermostat and fixing the duct issues in your case study, how quickly did the homeowners notice a difference in comfort and energy bills? Was it an immediate improvement or more gradual?
The homeowners noticed an immediate difference in comfort after the new programmable thermostat was installed and the duct issues were fixed. The temperature became more consistent throughout the house right away. As for energy bills, they started to see lower utility costs after the first month, with the most noticeable savings showing up over the next couple of billing cycles.
For homeowners trying to budget a similar retrofit in an older home, could you share how the costs were allocated between updating the furnace, sealing ductwork, and adding insulation? Was there anything you would have prioritized differently based on the results?
In this retrofit, about 50% of the budget went toward updating the furnace, 30% to ductwork sealing, and 20% to adding insulation. Looking back, prioritizing duct sealing and insulation first might have yielded immediate improvements in efficiency and comfort. Upgrading the furnace after improving the building envelope could also ensure the new system is properly sized for the home’s lower energy needs.
After completing the retrofit, how long did it take before you noticed improvements in indoor air quality and comfort levels? I am curious if homeowners should expect immediate results or if there’s an adjustment period following installation.
Most homeowners notice improvements in comfort and indoor air quality within just a few days after the retrofit, especially once the new system is up and running. There might be a brief adjustment period as the system balances temperatures and airflow, but overall, you can expect positive changes to become noticeable quite quickly, usually within the first week.
You mention a professional energy audit was the first step. Can you give a general idea of the cost and how long this assessment took before any retrofit work began? I’m trying to figure out what to budget and what kind of timeline to expect for a similar project.
A professional energy audit for an older home typically costs between $300 and $600, depending on the size and location of the property. In this case, the audit took around half a day, or about 3–4 hours, to complete on-site. Afterward, the detailed report with recommendations was delivered within one week. This should help you plan both your budget and your project timeline.
Did the energy audit reveal if updating the old sheet metal ducts was more cost-effective than replacing them entirely? I’ve got uninsulated ducts in my own 1950s house and I’m not sure whether to focus on sealing/insulating or budgeting for a full replacement.
The energy audit in the case study found that sealing and insulating the existing sheet metal ducts provided most of the efficiency benefits without the higher cost of full replacement. The team only recommended replacing ducts if they were badly damaged or inaccessible. For a 1950s house like yours, starting with sealing and insulating is usually the most cost-effective approach unless the ducts are in poor condition.
Can you share more specifics on how the energy audit identified insulation gaps and leaky ducts in the crawlspace? I’m curious which diagnostic methods or tools were most useful in pinpointing those hidden issues in a masonry house from the 1950s.
The energy audit used a combination of infrared thermography and blower door testing to identify insulation gaps and air leaks. Infrared cameras helped visualize temperature differences along walls, floors, and ceilings, revealing poorly insulated spots. The blower door test pressurized the home, making it easier to detect drafts. For the crawlspace and ducts, smoke pencils and pressure gauges were particularly useful in highlighting leaky sections. These tools work well even in older masonry homes where issues can be hidden behind thick walls.
After upgrading the HVAC and insulation in this older home, how long did it take before the family started noticing improvements in comfort and lower utility bills? We’re weighing the disruption versus benefits for our own property.
The family began noticing improvements in comfort almost immediately after the upgrades, as the temperature throughout the home became more consistent and drafts were reduced. When it came to utility bills, they observed noticeable reductions within the first one to two billing cycles. The disruption during installation was temporary, but the benefits in comfort and energy savings were felt soon after completion.
I noticed the home had original uninsulated sheet metal ducts and a 30-year-old gas furnace. Were there any challenges integrating modern equipment with the original ductwork, or did you have to replace the ducts entirely for the retrofit to be effective?
Integrating modern HVAC equipment with the original uninsulated sheet metal ducts did present some challenges. While complete duct replacement wasn’t necessary, several sections required sealing and insulation to boost efficiency and prevent air leaks. In some areas where the old ducts were too deteriorated or incompatible with the new system, partial replacement was done to ensure the retrofit performed as intended.
Did the retrofit plan include upgrading the original uninsulated sheet metal ducts, or were those left in place? I’m curious whether duct replacement was necessary for improving indoor air quality and reducing audible noise, or if sealing and insulating them was enough.
The retrofit plan did not require full duct replacement. Instead, the original uninsulated sheet metal ducts were sealed and insulated as part of the project. This approach was effective for improving both indoor air quality and reducing noise levels. The article notes that proper sealing and insulation addressed leakage and thermal loss, while also helping to dampen sound from the HVAC system.
How long did the entire retrofit process take from the initial energy audit through to the final installation? I am trying to estimate possible downtime for my own project in a similar older home.
The entire retrofit process, from the initial energy audit to final installation, took about six weeks. This included the assessment, planning, ordering equipment, and the actual installation. Most of the work was scheduled to minimize disruption, resulting in only a few days where the home’s heating and cooling were unavailable. For a similar older home, you can expect a comparable timeline, though it may vary depending on the project’s complexity and contractor availability.
After the professional energy audit identified insulation gaps and air leaks, which measures were prioritized first—updating the HVAC equipment, sealing ducts, or improving insulation? I am interested in which step made the biggest immediate difference in comfort or energy bills.
In this case study, the team first prioritized sealing air leaks and improving insulation before updating the HVAC equipment. Addressing these gaps helped keep conditioned air inside, which immediately improved comfort and started reducing energy bills. Once the home was better sealed and insulated, upgrading the HVAC system had an even greater impact on efficiency and comfort.
You mentioned persistent dust and allergy complaints prior to the retrofit. Were any air filtration or ventilation systems added beyond standard HVAC equipment to address indoor air quality, and if so, what specific solutions proved most effective for this family?
Yes, beyond upgrading the standard HVAC system, a high-efficiency MERV 13 air filter was installed along with a dedicated energy recovery ventilator (ERV). The MERV 13 filter significantly reduced dust and airborne allergens, while the ERV provided continuous fresh air exchange without losing heating or cooling efficiency. This combination noticeably improved indoor air quality for the family, especially regarding allergy symptoms.
After the professional energy audit and assessment, how long did the entire retrofit process take from planning to completion? We both work full-time with a kid and a dog, so I’m wondering how disruptive the work might be day-to-day.
The full HVAC retrofit process, from initial planning after the energy audit to project completion, took about four weeks. Most of the disruptive work—like ductwork and system installation—was scheduled during weekdays, but the crew coordinated around the family’s routines whenever possible. While there was some noise and temporary loss of HVAC use, the team maintained access to major living areas, so the family and their dog could still go about daily life with manageable inconvenience.
In the case of this 1954 colonial with original uninsulated sheet metal ducts, did you consider replacing the ductwork entirely or just sealing and insulating the existing runs? I’m curious how you balanced the cost and disruption versus the potential energy savings.
For this 1954 colonial, we evaluated both options—full duct replacement and improving the existing system. Ultimately, we chose to seal and insulate the original sheet metal ducts. This approach minimized disruption to the home and kept costs lower, while still providing significant energy savings and comfort improvements. Full replacement would have offered incremental efficiency gains, but wasn’t justified given the higher expense and the impact on the interior finishes.
Can you elaborate on how the team addressed the challenge of uninsulated sheet metal ducts in this 1950s colonial? I am curious if duct insulation or a complete duct replacement was considered more cost-effective, and what impact that had on comfort and energy bills.
The team found that the original uninsulated sheet metal ducts were causing significant energy loss and uneven temperatures. Instead of a full duct replacement, which would have been expensive and disruptive, they chose to add high-quality external duct insulation. This approach proved much more cost-effective, improved overall comfort by reducing temperature swings between rooms, and notably lowered energy bills thanks to reduced heat loss and gain through the ducts.
Did the retrofit for the 1950s colonial include replacing the original sheet metal ductwork, or was it possible to just insulate and seal the existing ducts? I’m curious about the cost and effectiveness of each option in a similar-sized home.
In the case study, the original sheet metal ductwork was not fully replaced. Instead, the team focused on thoroughly sealing and insulating the existing ducts to improve efficiency and comfort. This approach tends to be more cost-effective than full duct replacement, especially if the ducts are structurally sound. Sealing and insulating can significantly reduce energy loss and improve airflow, but replacing old ducts might be necessary if there are major leaks, rust, or sizing issues. Generally, sealing and insulating costs less and offers strong efficiency gains for homes with well-built ducts.
I’m curious about how the project balanced the need for modern efficiency with maintaining the home’s original character, especially since it’s a masonry colonial. Were there any challenges fitting new HVAC systems into the existing structure, and how invasive was the retrofit process for the occupants?
The retrofit team worked carefully to preserve the home’s original character by choosing HVAC components that fit discreetly within the existing structure. In a masonry colonial, space for new ductwork can be limited, so they used compact systems and routed ducts through closets and attic spaces to minimize disruption. Some walls and ceilings required minor access points, but overall, the process was designed to be as non-invasive as possible, allowing the occupants to remain in the home with minimal inconvenience.
In your case study, you mention that the original ductwork was uninsulated sheet metal. Did you opt to entirely replace the ducts or was it feasible to retrofit and insulate the existing ones, and how did this decision impact both cost and overall system performance?
In the case study, we chose to retrofit and insulate the existing sheet metal ductwork rather than replacing it entirely. This was both cost-effective and less invasive, as the original ducts were still structurally sound. Adding high-quality insulation significantly improved energy efficiency and overall system performance by reducing heat loss and maintaining more consistent temperatures throughout the home.
For a property similar in size and construction to this colonial, what kind of budget range should a homeowner realistically expect for a comprehensive HVAC retrofit like the one described? Were there any hidden costs that surprised you?
For a home similar to the colonial in the case study, a comprehensive HVAC retrofit can typically range from $15,000 to $35,000, depending on the system choices, insulation upgrades, and ductwork needs. In our experience, some hidden costs included unexpected repairs to old ductwork and additional electrical work to support new equipment. It’s wise to set aside a contingency fund of around 10-15% for surprises.
After the initial energy audit, how long did the whole HVAC upgrade process take from planning through completion? I’m concerned about how disruptive a project like this might be for a family still living in the home.
From the initial energy audit to the final completion, the entire HVAC upgrade process described in the case study took about four weeks. This included planning, equipment ordering, installation, and system testing. While there was some disruption, the work was scheduled in phases to minimize impact on daily life, so the family was able to stay in the home throughout the project.
You mentioned budgeting tips in the article—were there any unexpected costs specific to retrofitting masonry homes like this one, particularly related to insulation or ductwork upgrades? Any advice for homeowners planning for potential overruns?
In this retrofit, one unexpected cost came from adding insulation to thick masonry walls, which sometimes required custom solutions and extra labor. Upgrading ductwork was also pricier because limited wall space made installation tricky. Homeowners should set aside a contingency fund—typically 10-20% above initial estimates—to cover surprises like these. It’s wise to get detailed contractor quotes and ask about potential issues upfront.
You mentioned there was a lot of ductwork noise and some cycling issues with the old furnace. Was replacing the ductwork part of the retrofit, or were there ways to improve performance without a full replacement?
In this retrofit, a full ductwork replacement wasn’t necessary. Instead, the team sealed and insulated existing ducts to reduce noise and improve airflow. They also rebalanced the system and adjusted sizing in key areas, which helped address the cycling issues. These updates provided quieter, more efficient performance without the need to install entirely new ductwork.
For budgeting purposes, could you share a ballpark estimate of what the comprehensive HVAC upgrade cost in this case study? I’m interested in knowing how much was allocated for things like the new equipment, ductwork improvements, and the energy audit itself.
In this case study, the comprehensive HVAC upgrade cost roughly $18,000 to $22,000. This included about $13,000 for new HVAC equipment, $5,000 for ductwork improvements, and approximately $500 to $1,000 for the energy audit. Costs can vary based on home size and specific equipment selections, but this range should help with your budgeting.
How did the homeowners decide between repairing the existing uninsulated sheet metal ducts and replacing them entirely? I’m dealing with a similar situation in a 1960s house and wondering how to weigh the cost versus efficiency benefits.
The homeowners compared the costs of repairing their old, uninsulated ducts with the long-term benefits of new insulated ductwork. They found that although repairs were less expensive upfront, the older ducts were leaky and inefficient, leading to higher energy bills. In their case, replacing the ducts improved airflow, provided better comfort, and resulted in noticeable energy savings, making the investment worthwhile. Assessing duct condition, insulation, and leakage can help you decide what’s best for your 1960s house.
Our 1960s house has the same problem with dust and allergies, especially during spring and fall. After your retrofit, did you notice a big improvement right away, or did it take some time to feel the difference in indoor air quality?
After the retrofit, there was a noticeable improvement in indoor air quality within the first couple of weeks. The new filtration system and improved ductwork helped reduce dust and allergy symptoms fairly quickly. However, it took about a month for the full benefits to become obvious, as the upgraded HVAC system gradually cleared out lingering particles from the old system.
I noticed the home in your case study had uninsulated sheet metal ducts and a really old furnace. When upgrading, did you consider switching to a ductless system at any point, or was improving the existing ductwork more cost-effective?
In this case study, the homeowners and HVAC team did discuss the possibility of switching to a ductless system. However, after evaluating costs and the home’s existing layout, upgrading the existing ductwork and installing a high-efficiency furnace proved more cost-effective. This approach also preserved the home’s original architecture while still achieving significant comfort and efficiency improvements.
Could you share more about the budgeting process for this retrofit? I’m curious how much of the total project cost was allocated to the energy audit and planning phase compared to the actual HVAC system upgrades.
The budgeting process for the retrofit started with an energy audit and planning phase, which accounted for roughly 10–15% of the total project cost. This included professional assessments, load calculations, and system design recommendations. The majority of the budget, about 85–90%, went toward the actual HVAC equipment upgrades, installation, and any necessary structural modifications. Prioritizing a thorough audit helped ensure the upgrades were tailored and effective.
After upgrading the HVAC and ductwork, did you notice any difference in noise levels from the system, and were any additional soundproofing steps needed to minimize audible ductwork noise?
After the HVAC and ductwork upgrade, we did notice that the new system operated more quietly than the previous setup. The modern equipment and properly sealed ductwork reduced vibration and airflow noise. No extra soundproofing steps were necessary, but ensuring ducts were well-insulated and securely fastened played a big part in minimizing any remaining noise.
How did you prioritize the retrofit steps given the various problems, like duct noise, cold spots, and air quality? Was air sealing or duct replacement tackled first, and did you have to phase the work due to budget constraints?
We first assessed the most urgent comfort and efficiency issues, starting with air sealing to address drafts and improve overall performance. Next, we tackled ductwork, focusing on replacing or insulating ducts to reduce noise and cold spots. Air quality improvements followed, such as upgraded filtration. The project was phased according to budget, with each stage planned to maximize immediate benefits while staying within financial limits.
How did the energy audit team identify which air leaks or insulation problems were costing the most in terms of heating and cooling bills? I’d like to know what kind of tests or diagnostic tools are involved before investing in a retrofit myself.
The energy audit team used a combination of blower door tests and thermal imaging cameras to pinpoint areas where air leaks and insulation gaps were letting energy escape. The blower door test creates a pressure difference to highlight leaks, while thermal imaging shows heat loss visually. Together, these tools help auditors prioritize which issues are having the biggest impact on your heating and cooling costs before starting any retrofit work.
For a 1950s home like the one in your case study, did you have to update any of the original wiring or electrical panel to accommodate modern HVAC equipment, or was the focus mainly on ductwork and insulation? Curious about hidden costs with older homes.
In our case study, we did need to update the electrical panel to support the new HVAC system, as the original 1950s wiring didn’t meet modern load requirements. While a lot of focus was on ductwork and insulation, upgrading the panel was an essential hidden cost. It’s a good idea to budget for possible electrical updates when retrofitting older homes for new HVAC equipment.
Could you provide a rough budget range or a breakdown of major cost factors for a similar comprehensive HVAC retrofit in an older home of this size? It would be helpful for homeowners planning for upgrades.
A comprehensive HVAC retrofit for an older home similar in size typically ranges from $15,000 to $35,000. Major cost factors include equipment (furnace, air conditioner, heat pump, or ductless systems), ductwork replacement or sealing, insulation upgrades, labor, and permits. Additional expenses may arise if electrical upgrades or asbestos remediation are needed. Costs can vary depending on home size, local labor rates, and the efficiency of the chosen systems.
How much time did the professional assessment and planning phase actually take from scheduling to getting the full list of recommendations? I’m trying to gauge how much downtime to expect for my business office retrofit.
In this case study, the professional assessment and planning phase took about two weeks from the initial scheduling to the delivery of the full list of recommendations. The timeline included one on-site visit, followed by a few days for system analysis and preparing the customized upgrade plan. For a business office, the process may be similar, although larger or more complex spaces could take a bit longer.
Given that the original HVAC system was about 30 years old, was there any discussion about replacing vs. upgrading key components, especially with current rebates and incentives for energy efficiency upgrades?
Yes, the case study addressed the decision between a full replacement and upgrading key components of the 30-year-old system. The homeowners and contractor considered the age and efficiency of the existing units, as well as available rebates and incentives for energy-efficient equipment. Ultimately, they chose a complete system replacement to take full advantage of current rebates, maximize efficiency gains, and reduce long-term maintenance concerns.
I’m curious about budgeting for a project like this. Roughly what percentage of your total retrofit cost ended up going to ductwork improvements versus upgrading the furnace and AC? Any surprises there that future retrofitters should plan for?
In our retrofit, about 30% of the total cost went to ductwork improvements, while roughly 60% was spent upgrading the furnace and AC units. The remaining budget covered insulation and misc items. One surprise was the extra labor required for ductwork in tight spaces, which drove costs up a bit—definitely something to plan for if your home has limited access areas.
I’m curious about the professional energy audit you mention. How invasive was that process, and did it disrupt your family’s day-to-day life much? I worry about scheduling something like that with kids and a dog at home.
The professional energy audit was actually quite manageable. The auditor mainly walked through each room, used some diagnostic tools like a blower door and thermal camera, and asked a few questions about our comfort habits. It took a few hours, but we were able to stay at home the whole time—kids and pets included. The process wasn’t noisy or messy, and the auditor was very considerate about working around our family’s routines.
Did the retrofit include upgrading any of the insulation in the attic or crawlspace, or was the focus mainly on replacing the old HVAC system and ductwork? I’m trying to figure out how much of a difference added insulation makes versus just updating mechanicals.
The retrofit described in the article focused primarily on replacing the old HVAC system and updating the ductwork for better efficiency. There wasn’t a major upgrade to the insulation in the attic or crawlspace as part of this particular project. However, adding insulation can significantly boost energy efficiency and comfort, so combining both insulation improvements and mechanical upgrades is often the best strategy for older homes.
Did the retrofit in the 1950s colonial involve replacing or relining the original sheet metal ducts, or did you find that sealing and insulating them was sufficient? We have a similar issue with noisy, uninsulated ducts in our mid-century home and are weighing the options.
In the case study, the original sheet metal ducts were inspected for integrity. Instead of a full replacement or relining, the team opted to seal all joints and seams thoroughly and then add insulation around the ducts. This approach significantly reduced noise and improved efficiency. If your ducts are structurally sound, sealing and insulating can be a cost-effective solution before considering more extensive replacement.
What sort of budgeting tips can you share for families wanting to manage high upfront retrofit costs, especially if their home is similar in size and layout? Did you run into any unexpected expenses during the process?
To help manage high upfront retrofit costs, consider getting quotes from several contractors and prioritizing upgrades with the fastest payback, like insulation or smart thermostats. Look into local incentives or rebates for energy efficiency improvements. Spreading the project over phases can help too. During our own retrofit, unexpected expenses came up with outdated wiring and hidden water damage behind old vents, so it’s wise to set aside a contingency fund for surprises.
For budgeting purposes, could you provide more detail on the upfront costs versus the projected utility savings for this 1950s colonial retrofit? Understanding the financial payback period would really help homeowners like me considering a similar investment.
For the 1950s colonial retrofit, the upfront costs for new HVAC equipment, ductwork improvements, and insulation upgrades typically ranged from $15,000 to $25,000, depending on system choices and home size. The projected annual utility savings were around $1,800. This means the payback period was estimated at 8 to 12 years. These figures will vary based on your location, current energy usage, and specific retrofit measures you choose.
After the comprehensive energy audit, what was prioritized first: addressing insulation gaps, updating the furnace, or fixing duct leaks? Did tackling one specific upgrade make the most noticeable difference in comfort or bills early on?
Following the energy audit, sealing duct leaks was prioritized first. This step helped prevent conditioned air from escaping, immediately improving comfort and system efficiency. Although updating insulation and replacing the furnace were also important, fixing the ductwork made the biggest initial impact on both comfort and energy bills, as it maximized the effectiveness of the existing HVAC system right away.
Did you run into any unexpected challenges with the existing uninsulated sheet metal ducts during the retrofit, and how did those issues impact the overall comfort or cost after upgrading?
Yes, the uninsulated sheet metal ducts did present some unexpected challenges. Because they weren’t insulated, there was noticeable heat loss and temperature fluctuation in parts of the home, especially in colder months. To address this, we had to add duct insulation during the retrofit, which increased the overall project cost a bit but made a significant improvement in system efficiency and comfort throughout the house.
With the home having a partial crawlspace and masonry construction, were there any unexpected challenges during the installation of new HVAC components or insulation? I’m wondering how these construction details might affect the retrofit process or timeline.
Yes, the partial crawlspace and masonry construction did present some unique challenges during the retrofit. The crawlspace limited access for running new ductwork and made sealing air leaks more labor-intensive. Masonry walls complicated the installation of insulation and routing refrigerant lines, often requiring specialized drilling equipment and extra care to avoid damaging the structure. These factors added a bit of time to the project and required careful planning, but the upgrades were still successfully completed.
Could you elaborate on how the energy audit specifically identified issues in the uninsulated ductwork and insulation gaps in this 1950s masonry home? I’m wondering what diagnostics or tools were used and how accurate those methods are for hidden problem areas.
The energy audit in the 1950s masonry home used a combination of blower door testing and thermal imaging cameras. The blower door test pressurized the house, making it easier to spot air leaks, while the thermal camera detected temperature differences that revealed uninsulated ductwork and insulation gaps, even in concealed spaces. These methods are quite effective for uncovering hidden issues, as they visually highlight problem areas that aren’t visible to the naked eye.
Can you share how the homeowners balanced improving indoor air quality versus just reducing utility bills, especially given the allergy complaints and drafty spots mentioned? Did any upgrades specifically address both issues at once?
The homeowners addressed both indoor air quality and energy efficiency by selecting upgrades that served dual purposes. For example, they installed a high-efficiency HVAC system with advanced air filtration, which helped reduce allergens and improved air quality while also lowering energy usage. Air sealing and added insulation not only reduced drafts and utility costs but also helped prevent outdoor allergens from entering the home. These combined steps targeted both comfort and health concerns simultaneously.
Did the energy audit reveal any unexpected issues with the home’s ductwork, and if so, were you able to repair or replace the ducts without opening up a lot of walls and ceilings? I’m worried about how invasive duct upgrades can be in an older house.
The energy audit did reveal some issues with leaky and poorly insulated ductwork, which is common in older homes. Thankfully, most repairs were handled from accessible areas like the attic and basement, so we rarely had to open up walls or ceilings. In cases where minor openings were needed, the team kept them as small as possible and restored everything afterward.