Introduction: Why Renovations Threaten Your HVAC and Indoor Air Quality
Planning a home renovation is exciting—the promise of a refreshed kitchen, a stylish new bathroom, or a more open living space is hard to resist. But amidst the flurry of design decisions, contractor meetings, and budgeting, one critical system is often overlooked: your HVAC. During renovations, dust, debris, and construction contaminants can wreak havoc not just on your indoor air quality but on the very heart of your home’s comfort system. Ignoring your HVAC during these projects can result in clogged filters, damaged components, costly repairs, and poor air quality lingering long after the dust settles. Whether you’re a homeowner hoping to breathe easy, a contractor aiming to avoid callbacks, or a property manager overseeing upgrades across units, understanding how to prep and protect your HVAC system during renovations is essential for a smooth, healthy, and efficient outcome. This detailed, step-by-step guide walks you through practical strategies to minimize downtime, safeguard your system, and keep your air clean—before, during, and after your next remodel.
Understanding the Risks: How Renovations Affect HVAC Systems
Dust and Debris Infiltration
Renovation activities—demolition, sanding, drywall installation, painting—generate massive amounts of airborne dust and particulates. These contaminants can quickly infiltrate your HVAC system through uncovered vents and intakes, settling on coils, clogging filters, and reducing airflow.
- Short-term effects: Reduced system efficiency, increased energy bills, foul odors, and diminished comfort.
- Long-term effects: Premature system wear, compressor failure, and persistent indoor air quality problems.
Volatile Organic Compounds (VOCs) and Off-Gassing
Paints, adhesives, new flooring, and cabinetry often release VOCs—chemicals that linger in the air, aggravating allergies and impacting health. Your HVAC, if unprotected, can circulate these compounds throughout the home.
Physical Damage to Equipment
Heavy tools, falling debris, or accidental impacts can damage exposed HVAC components—especially if equipment like air handlers or condensers are in or near work zones.
System Downtime and Scheduling Delays
Neglecting your HVAC during renovations can lead to unexpected breakdowns. This means uncomfortable living conditions, project delays, and higher costs to get everything back online.
Step 1: Assess the Scope—And Involve Your HVAC Pro Early
Why Early Assessment Matters
Every renovation is unique. Will walls be knocked down? Is ductwork being rerouted? Are you upgrading insulation or windows? The answers determine your HVAC risk exposure and the preventive steps required.
- Consult your HVAC contractor before demolition begins.
- Share blueprints or plans. Highlight zones where system components, vents, or ductwork may be affected.
- Ask for a pre-renovation inspection. A pro can identify vulnerable areas and suggest tailored solutions.
Step 2: Prepare the System—Physical Protections and Shutdown Protocols
Sealing Off Supply and Return Vents
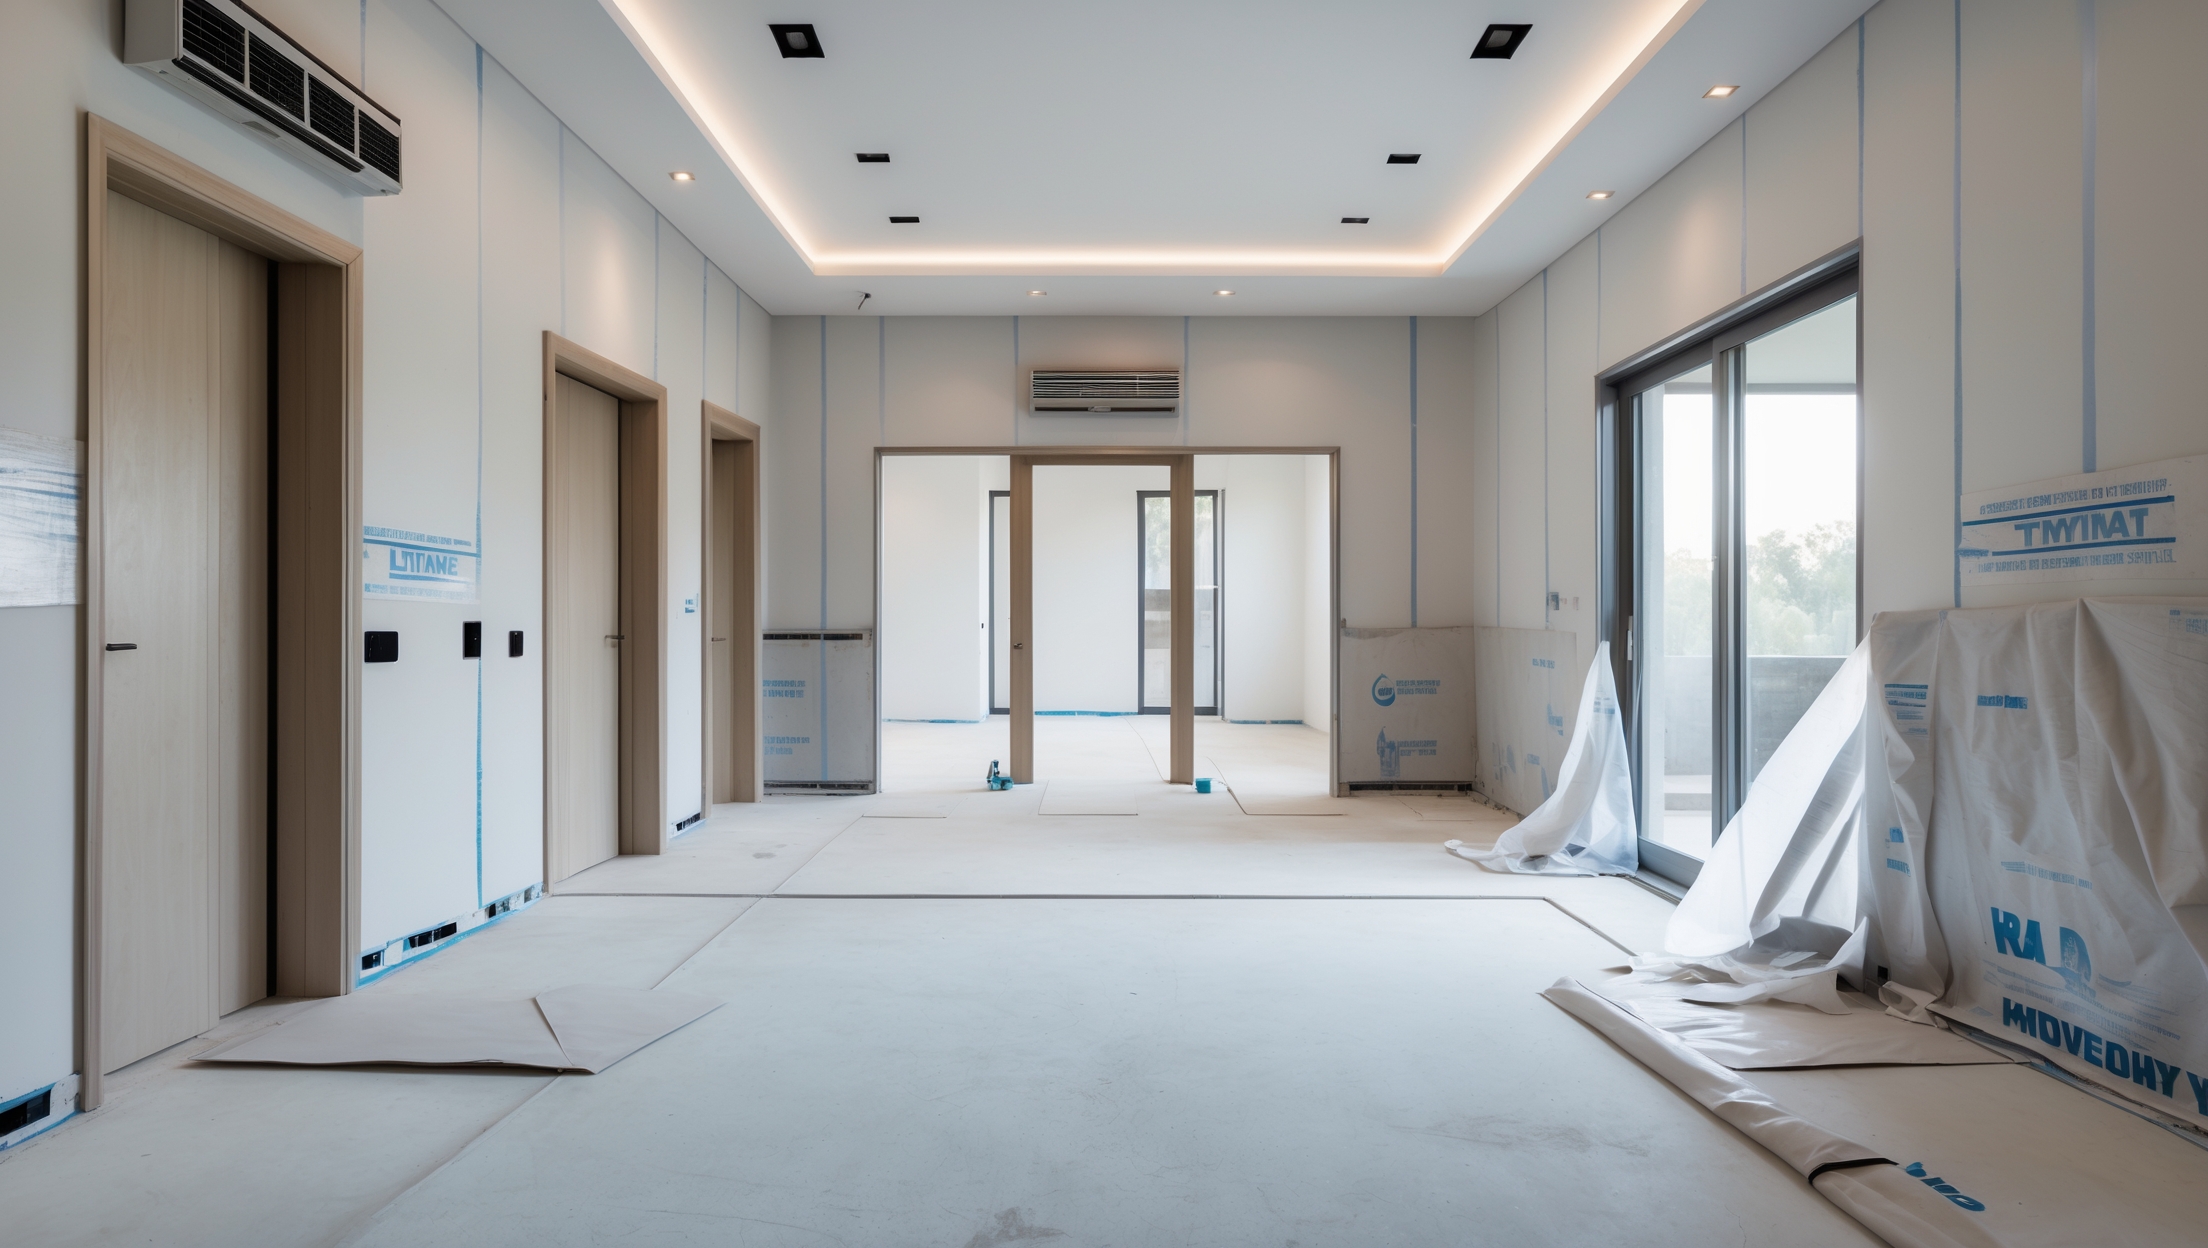
Uncovered vents are an open invitation for dust and debris. Before work begins, use magnetic vent covers, plastic sheeting, or painter’s tape and thick plastic to seal all registers in work zones. Don’t forget cold air returns, which pull air—and contaminants—into the system.
Protecting Exposed Equipment
- Furnaces and Air Handlers: If located near renovations, cover with heavy-duty plastic or tarp secured with painter’s tape. Leave enough clearance for airflow if the system must run.
- Outdoor Condensers: Shield units from falling debris or overspray, but never fully encase a running condenser (overheating risk!). Only cover when the unit is powered off.
Shutting Down the System—When and Why
For major demolition or heavy dust-generating activities, it’s best to turn off your HVAC entirely. Running the fan can draw contaminants directly into the system. Work with your contractor to schedule shutdowns and ensure alternative heating or cooling is provided if needed.
Isolating Work Zones
Install plastic sheeting or temporary barriers between work zones and occupied areas. Negative air machines (HEPA air scrubbers) can further reduce dust migration.
Managing Air Pressure
Keep renovation zones under negative air pressure when possible. This prevents dust from spreading to other areas via ductwork or doorways.
Step 3: Air Quality First—Filtration, Ventilation, and Monitoring
Upgrade to High-Efficiency Filters
Install high-MERV (Minimum Efficiency Reporting Value) filters before work begins. These capture finer particles, but beware: higher MERV ratings can restrict airflow in some older systems. Consult your HVAC pro for the right balance.
- MERV 8-11: Good basic protection for most systems.
- MERV 13+: Enhanced filtration for homes with allergies, pets, or heavy dust exposure.
Change Filters Frequently
During renovations, inspect and replace filters weekly—or more often if they appear visibly dirty. Stock up ahead of time.
Supplement with Portable HEPA Air Cleaners
Deploy portable air purifiers in renovation and adjacent living areas. HEPA filters capture particulates and many VOCs, offering an extra layer of defense.
Boost Ventilation—But Wisely
- Open windows and use exhaust fans to increase fresh air exchange, especially when painting or using adhesives. Avoid creating cross-drafts that pull dust into clean areas.
- Never run the HVAC fan “on” during heavy construction—use only during cool-down or heat-up periods if absolutely necessary.
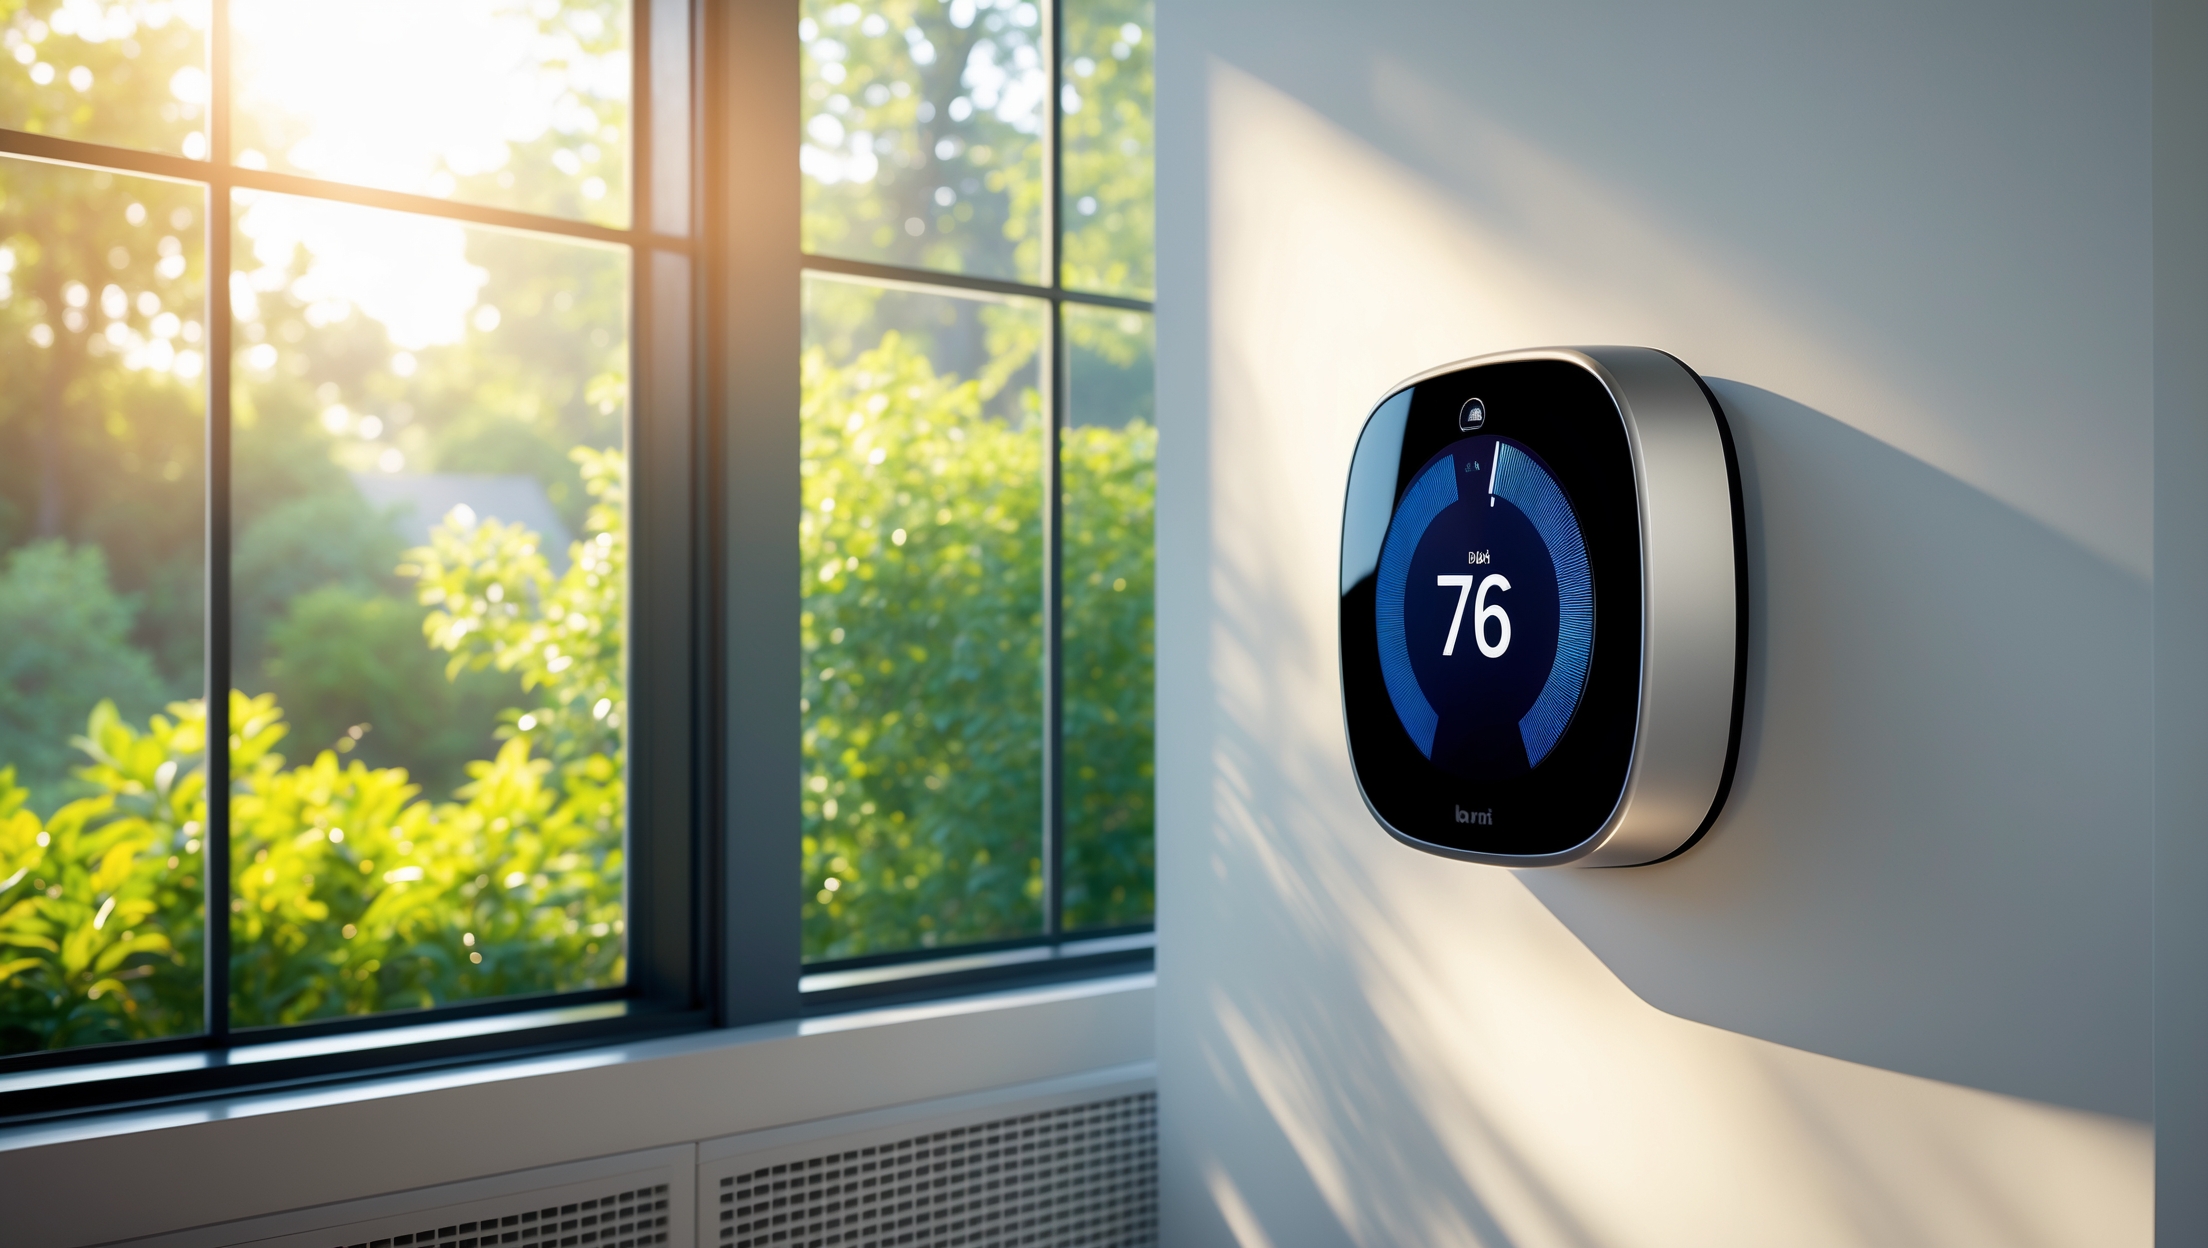
Monitor Indoor Air Quality (IAQ)
Consider installing temporary IAQ monitors to track particulate levels, VOCs, humidity, and temperature. Many affordable, Wi-Fi-enabled models provide real-time alerts to your phone or tablet.
Step 4: Protecting Ductwork—Preventing Hidden Contaminant Buildup
Seal Duct Openings
Any exposed ductwork in renovation zones should be capped or sealed with plastic and tape at both ends. This prevents sawdust, insulation, and debris from accumulating inside.
Inspect for Pre-Existing Issues
Renovations are a smart time to check for duct leaks, disconnected joints, or prior contamination. Have your HVAC contractor perform a duct integrity test if your system is older or has known issues.
Plan for Professional Cleaning
After renovations, consider a full duct cleaning—especially if your project involved heavy demolition, drywall, or flooring replacement. Choose a reputable provider who follows NADCA (National Air Duct Cleaners Association) standards.
Step 5: System Restart—Safe Procedures and Post-Reno Checks
Visual Inspection Before Power-Up
Before restarting your HVAC system:
- Remove all vent covers, plastic sheeting, and temporary barriers.
- Check that all tools, debris, and construction materials are cleared from around equipment and registers.
- Inspect wiring, drain lines, and condensate pans for accidental damage.
Replace All Filters—Again
Even with frequent changes during the project, replace all filters after construction ends to prevent lingering dust from recirculating.
Run the System—Test for Odd Noises, Smells, or Performance Issues
- Listen: Unusual rattling, banging, or whistling may indicate debris in ductwork or loose panels.
- Smell: Persistent dusty, musty, or chemical odors should be investigated immediately.
- Monitor: Confirm that airflow and temperature are consistent in all rooms.
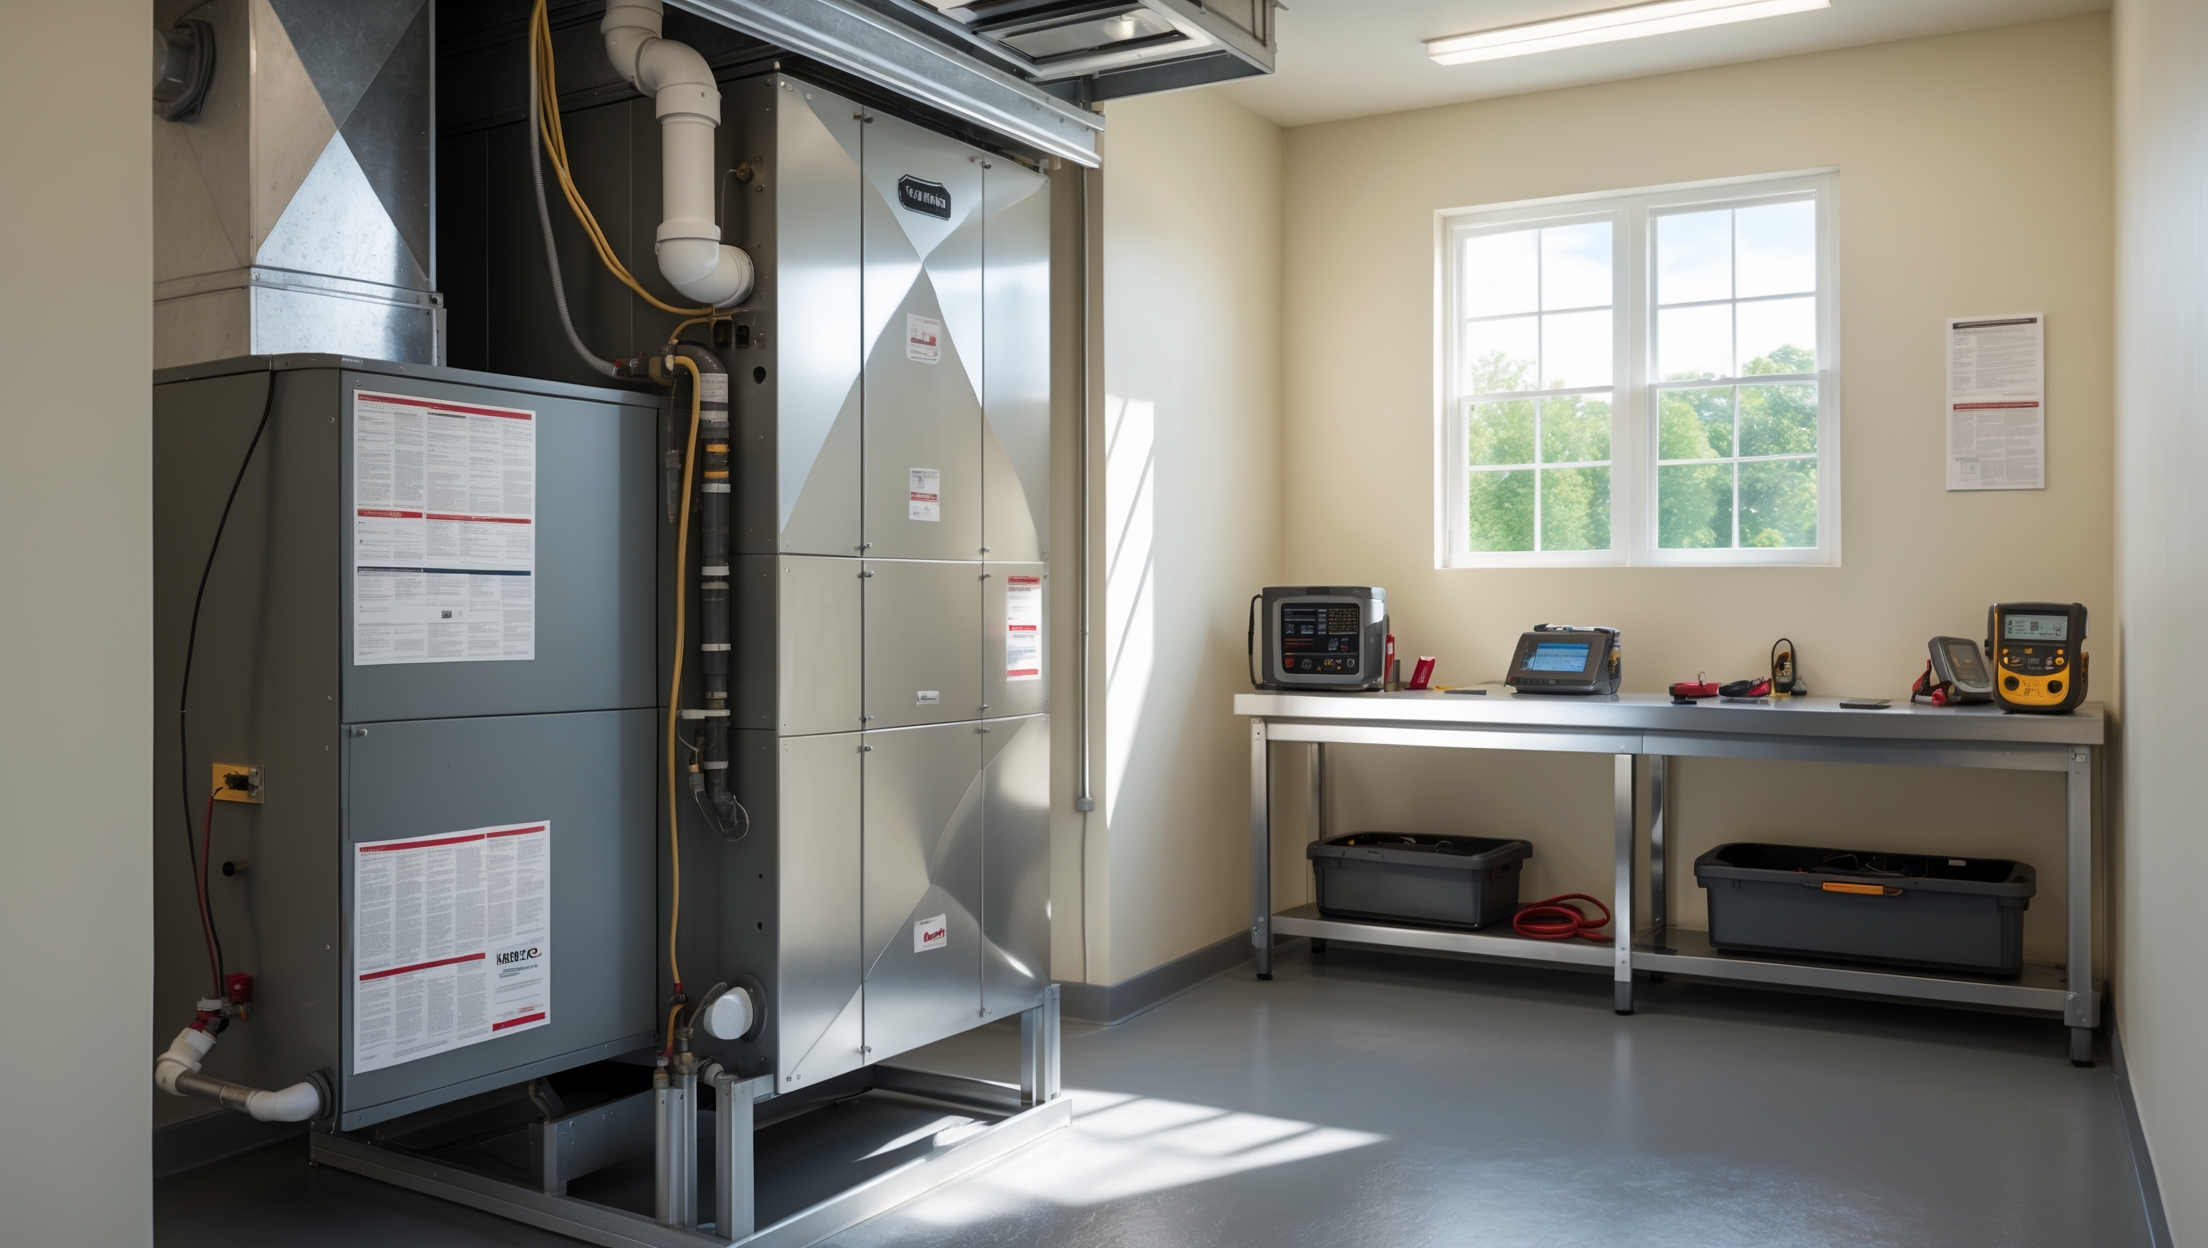
Schedule a Post-Renovation Tune-Up
An HVAC professional should perform a comprehensive check-up after major renovations. This includes duct inspections, refrigerant checks, electrical testing, and system calibration to ensure peak performance and safety.
Step 6: Preventing Problems—Communication and Contractor Coordination
Establish Clear HVAC Protection Responsibilities
Who seals the vents? Who manages filter changes? Who is liable for accidental damage? Clarify these details in your renovation contract and ensure all trades are informed of HVAC protection protocols.
Regular Walk-Throughs and Spot Checks
Schedule walkthroughs with your general contractor and HVAC pro at key milestones—after demolition, before drywall, and at project closeout. Address issues immediately to avoid costly surprises.
Educate Everyone Involved
Ensure all workers know not to use vents as trash chutes, not to block or disconnect equipment, and to report any accidental damage right away.
Step 7: Special Scenarios—Additions, Ductwork Alterations, and System Upgrades
Home Additions and New Spaces
Extending your home? You’ll need to assess whether your current HVAC can handle the new load. Undersized systems will struggle, while oversized ones waste energy and degrade air quality. Have a load calculation performed before connecting new spaces.
Modifying or Adding Ductwork
Improperly installed or sized ducts can lead to uneven temperatures, noise, and efficiency loss. Always use licensed HVAC professionals for design and installation.
Upgrading to New Equipment
If your renovation includes a new furnace, AC, or heat pump, coordinate the installation to minimize dust exposure. Request that equipment be installed after major dust-generating work is complete.
Smart System Upgrades
- Consider programmable thermostats, zoned systems, or smart sensors to maximize comfort and efficiency in your newly remodeled space.
- Install fresh air intakes or ERVs (energy recovery ventilators) if your renovation tightens up your home’s envelope.
Quick Reference: HVAC Protection Checklist for Renovations
- Consult with your HVAC pro before starting work
- Seal all vents and returns in work zones
- Protect exposed HVAC equipment with plastic covers
- Shut down the system during heavy dust-generating activities
- Upgrade to high-MERV filters and replace frequently
- Use portable HEPA air cleaners in key areas
- Monitor indoor air quality if possible
- Seal all exposed ductwork during construction
- Plan for professional duct cleaning post-renovation
- Inspect and restart the system safely
- Schedule a post-renovation HVAC tune-up
- Clarify responsibilities with all contractors
Conclusion: Safeguarding Comfort and Air Quality—Now and for the Future
Home renovations promise transformation, but the stakes are high when it comes to your HVAC system and indoor air quality. Whether you’re opening up floor plans, finishing a basement, or simply refreshing finishes, construction dust and contaminants can have lasting consequences—compromising comfort, efficiency, and even your health. Thankfully, with a blend of proactive planning, clear communication, and targeted protection strategies, you can shield your HVAC from harm and maintain a healthy indoor environment throughout the renovation process.
Remember to involve your HVAC professional from the outset. Sealing vents, upgrading and changing filters, managing airflow and pressure, and coordinating with your construction team are not optional extras—they are essential steps for anyone who values their home’s comfort and air quality. Post-renovation, a thorough inspection and tune-up will catch hidden issues before they turn into expensive repairs.
For property managers and contractors, these practices minimize tenant complaints, reduce liability, and protect your reputation. For homeowners, they ensure your remodel is remembered for beautiful results—not lingering dust or costly HVAC breakdowns. Invest the effort now, and you’ll enjoy fresh, healthy air and reliable comfort, no matter how ambitious your next renovation may be.
If my renovation project is just limited to painting and installing new flooring, should I be more concerned about dust or VOCs affecting my HVAC? Also, are there specific filters or precautions I should use for each type of contaminant?
For painting and installing new flooring, both dust and VOCs (volatile organic compounds) are concerns, but their impact is different. Painting and some flooring materials release VOCs, which can travel through your HVAC system. Dust is more prominent during flooring installation. Use high-quality HVAC filters with a MERV rating of 8 or higher to trap dust. For VOCs, consider using activated carbon filters and increase ventilation by opening windows or running exhaust fans. Sealing off vents in work areas can also help prevent contaminants from spreading through your system.